BayFilter Installation Guide
Filename:
BayFilter Installation Guide.pdf
The BayFilter installation process is listed as steps. First, contact utility locator to mark underground utilities. Reference the site plan and stake out location. Excavate the hole, providing any sheeting and shoring necessary. Level the subgrade to the proper elevation. Have the soil bearing capacity verified by a licensed engineer for the required load bearing capacity.
On solid subgrade, set the first section of the BayFilter manhole/vault. Check the level and elevation of the first section to ensure it is correct before adding any riser sections. If additional section(s) are required, add a watertight seal to the first section of the BayFilter manhole/vault. Install the outlet pipe in BayFilter manhole/vault. Install the inlet pipe to the BayFilter manhole/vault.
Install the trolley system (if applicable). Using the supplied couplers, install the second sections of track via the same procedure. Continue until the track runs the length of the vault or as designed.
Install the PVC manifold. Glue all PVC joints with the exception of the BayFilter cartridge coupling. After the site has stabilized, remove any accumulated sediment or debris from the vault. Install the Bayfilter Vertical Drain Down Modules (VDDM) to the manifold system (if applicable).
Install a row of BayFilter cartridges. Place each cartridge so the handle or “top eye hook” points across the vault. Make sure the air valve is on the side closer to the outlet. Place one (1) full set of hold down bar and two retainer brackets across the top plate of a row of aligned BayFilters. Mark and drill (using a hammer drill and a 5/8” concrete bit) two 5/8” holes per retainer bracket approximately 1.5” into the wall. Each retainer bracket has 4 possible holes, use only two, and preferably in a diagonal position per retainer bracket. Insert the anchor bolts into the wall, slide the retainer bracket over the bolts and use either a ¾” wrench or deep ratchet socket to attach the anchor bolts and retainer bracket to the wall, creating a strong positive connection.
After fully anchoring the retainer brackets, place the left end of the hold down bar into position and lock into place using the quick release restraining pin attached to the retainer bracket. Do the same for the right end of the bar. Repeat steps 14, 15 and 16 for each set (or row) of BayFilter Cartridges and hold down bar sets until the whole system is installed.
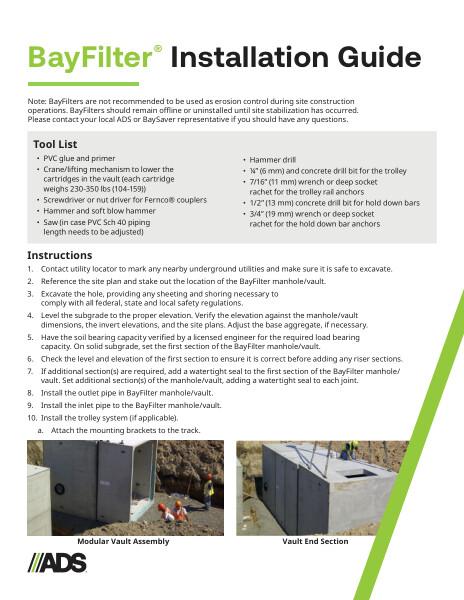
A tool list is provided with photographs of components.